In the dynamic landscape of manufacturing and crafting, Die Cutting Machines have emerged as indispensable tools, revolutionizing the way we shape materials with precision and efficiency. Whether you're a seasoned professional in the industrial sector or a creative enthusiast exploring DIY projects, mastering the operation of a Die Cutting Machine is crucial for achieving flawless results. This comprehensive user guide is designed to walk you through every aspect of your Die Cutting Machine, from safety protocols and initial setup to advanced operation techniques, maintenance, and troubleshooting, ensuring you can harness its full potential with confidence.
1.1 Personal Protective Equipment (PPE)
Always wear safety glasses to protect your eyes from debris.
Use cut-resistant gloves when handling materials or blades.
Wear closed-toe shoes and form-fitting clothing to avoid entanglement.
1.2 Machine Safety
Ensure the machine is placed on a stable, level surface.
Always power off the machine and unplug it before installing or adjusting blades.
Never bypass safety guards or interlock systems.
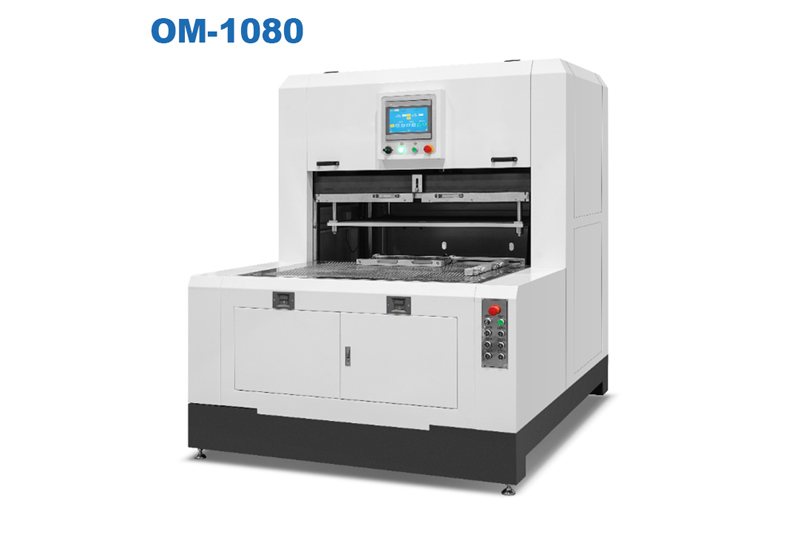
2.1 Unboxing and Inspection
|
Component |
Description |
|
Main unit |
The core body of the die cutting machine |
|
Cutting dies |
Customizable blades for specific shapes (store in a dry, dust-free case) |
|
Pressure plate |
Evenly distributes pressure during cutting |
|
Control panel |
Features include speed adjustment, pressure settings, and emergency stop |
2.2 Power Connection
Connect the machine to a grounded power outlet matching the rated voltage (specified on the machine label).
Turn on the main power switch located on the rear of the machine. The control panel display should illuminate.
3.1 Prepare Materials
Select materials (e.g., paper, plastic, fabric) within the machine's thickness capacity (check user manual for specifications).
Cut materials into sheets slightly larger than the cutting die to allow for alignment.
3.2 Install the Cutting Die
Power off the machine and wait for all moving parts to stop.
Open the die installation compartment by loosening the locking lever.
Place the cutting die blade-side up onto the magnetic base plate. Ensure it is centered and securely attached.
Tighten the locking lever to secure the compartment.
3.3 Set Parameters
On the control panel:
Adjust cutting speed (recommended starting speed: 50% of maximum).
Set pressure level based on material thickness (use the pressure adjustment knob or digital input).
Perform a test cut with a scrap material to verify settings.
3.4 Load and Align Materials
Place the material sheet on the worktable, aligning it with the registration marks.
Lower the pressure plate until it gently touches the material surface.
3.5 Start Cutting
Press the start button on the control panel. The machine will begin the cutting cycle.
Do not touch the material or machine during operation.
After cutting is complete, the machine will automatically stop.
3.6 Unload Finished Products
Raise the pressure plate and remove the cut pieces from the worktable.
Use a small brush to clean any debris from the cutting die and work area.
4.1 Daily Maintenance
Wipe the worktable and pressure plate with a soft, dry cloth to remove dust and debris.
Inspect the cutting die for any bent blades or material residue. Clean with a mild solvent if necessary.
4.2 Weekly Maintenance
Lubricate the machine's moving parts (e.g., guide rails, lead screws) with the recommended lubricant (specified in the manual).
Check the tightness of all screws and bolts on the machine frame.
4.3 Blade Replacement
When blades become dull (indicated by ragged cuts), power off and unplug the machine.
Remove the old die and install a new, sharp cutting die following the installation procedure in Section 3.2.
|
Issue |
Possible Cause |
Solution |
|
Incomplete cuts |
Insufficient pressure |
Increase pressure setting |
|
Material shifting |
Poor alignment |
Re-align material using registration marks |
|
Unusual noise |
Loose components |
Tighten all screws and bolts |
|
Machine not starting |
Power failure |
Check power connection and circuit breaker |
When not in use, cover the machine with a dust-proof cover.
Store cutting dies in a dry, cool place away from direct sunlight to prevent blade corrosion.
Die Cutting Machine Manufacturer - AOER

Refer to the warranty card for service information.
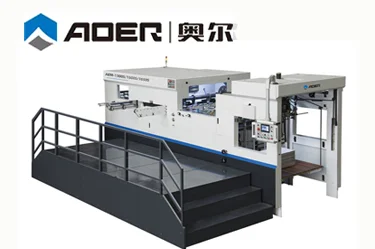
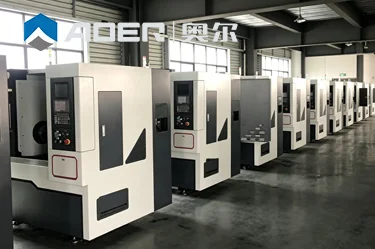
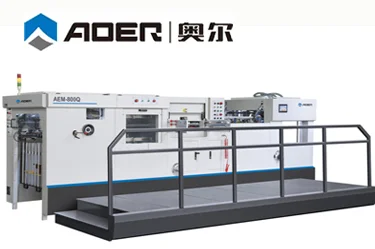
Founded in 2001, Aoer Printing & Packaging Machinery Co., Ltd. is a national high-tech enterprise specializing in R&D and manufacturing of die-cutting and die-cutting stamping equipments.
It has three brands, namely, Aoer, Iron Tiger and Bull Die King, with manual machine specifications ranging from 750-3000mm and automatic machine specifications ranging from 800-2200mm, totaling more than 130 kinds of specification products.
For more information about the die cutting machine information and other applications, welcome to contact us, please visit our website at https://www.wz-aoer.com We will be happy to help you out!
Thank you for choosing our Die Cutting Machine. Proper operation and regular maintenance will ensure optimal performance and longevity.
GET A QUOTE