You just pulled a perfect hot foil stamped invitation from the press. The gold shimmers. The edges are crisp. Then you run the next sheet—and notice a faint, feathery haze around the letters. By the tenth card, the foil has leaked outside the design like a broken pen.
That’s foil bleeding. And it’s not your fault.
Most operators immediately blame the foil quality or the die. But after working with dozens of small card studios and packaging lines, the real culprit is usually more mechanical: uneven heat across the platen, combined with subtle pressure inconsistencies. Fix those two, and the bleeding often vanishes.
Here’s a counterintuitive truth: Cranking up the pressure might stop the bleeding—but only temporarily. What you’re actually doing is forcing a deformed die into the paper, which creates a different set of problems: crushed fibers, foil cracking, or a “halo” effect around letters.
According to a technical note from the Foil & Specialty Effects Association (FSEA), nearly 60% of bleeding issues trace back to temperature variation across the stamping area rather than insufficient total force . That means your heating elements might be working fine in the center but running cold near the edges.
So what should you look for instead? A simple shop-floor test: Run a large solid square foil stamp (say, 10cm x 10cm) on cheap paper. Then peel the foil off. If the paper shows uneven burn marks or patchy adhesion, you’ve got hot spots or cold zones.
Let me describe a frustrating scenario. You set up a job for 500 foil-stamped business cards. The first 50 look flawless. Then around card 70, you notice the bottom-right corner starts bleeding. By card 120, half the sheet is ruined.
You recalibrate. It works for another 50 cards, then drifts again.
What’s happening? Thermal expansion is literally warping your lower platen. As the machine runs, heat builds up unevenly. The metal expands more in some areas, tilting the platen by fractions of a millimeter. That tiny tilt changes the gap between die and paper—exactly where bleeding starts.
Most entry-level hot foil applicators don’t compensate for this. They assume a perfectly flat platen at all temperatures. But real workshops know better.
A quick check: Place four small pieces of thermosensitive paper (or carbon paper) at each corner of your platen. Run a blank stamp with even pressure. If the four marks aren’t identical in darkness, your parallelism is off.
If you’re stamping on different card stocks—thin cotton paper one day, thick chipboard the next—you’ve probably noticed that bleeding behaves differently on each material. That’s because each substrate absorbs and dissipates heat at its own rate.
Thin paper overheats quickly, causing foil to “run.” Thick board needs more heat to activate the adhesive, but too much pressure crushes it.
The professional fix? Zone-specific temperature control. Instead of one heating block for the entire platen, segmented heaters let you run the center slightly cooler (where heat builds up) and edges slightly warmer (where heat escapes).
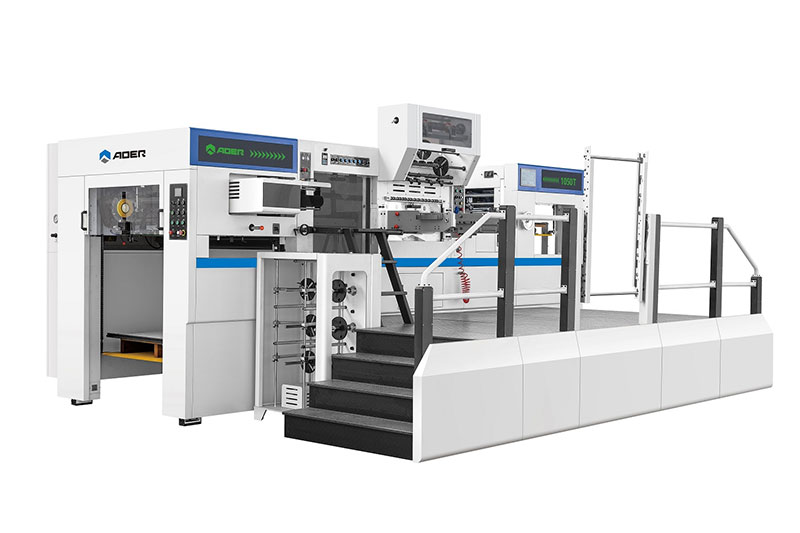
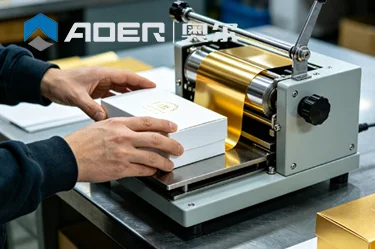
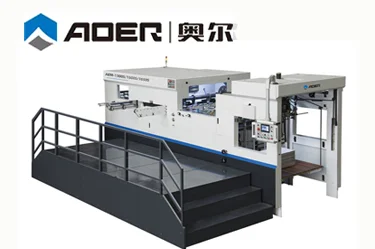
Some newer automatic presses now include this as a standard feature. For example, the automatic hot stamping machine from Aoer uses an eight-zone independent temperature control system. That means you can dial in different temperatures across the stamping area—without manually shimming the platen or guessing.
Another hidden bleeding source that almost no one talks about: pressure drift over time.
Most manual and pneumatic presses use a spring-loaded mechanism to return the platen. After a few hundred cycles, the springs heat up and lose tension. The effective pressure drops by 15-20% without any gauge showing it. You’re still seeing the same PSI reading, but the actual force reaching the foil has faded.
The result? Incomplete foil transfer looks exactly like bleeding—thin edges, fuzzy details, uneven coverage. Operators waste hours tweaking temperature when the real problem is mechanical fatigue.
How to test for this: Run 100 continuous stamps on scrap paper. Measure the impression depth every 20 stamps using a caliper. If you see more than 0.05mm variation, your pressure system is unstable.
Here’s a direct quote I once heard from a veteran foil stamp technician: “Bleeding means you’re either too hot or too slow. Pick your poison.”
That’s oversimplified but useful.
Too hot + fast dwell → foil melts sideways (bleeding)
Just right temp + slow dwell → clean transfer
Low temp + long dwell → incomplete peel (looks like bleeding but isn’t)
Most manufacturers give you a recommended temperature range. But those numbers assume perfect conditions: 23°C room temperature, 50% humidity, and a brand-new die.
In reality, you need to sweep your parameters. Start at the lowest recommended temperature and longest dwell time. Then reduce dwell in 0.1-second steps until bleeding appears. Then increase temperature slightly and repeat. The sweet spot is where you can reduce dwell without raising temp.
Keep a log. After a few jobs, you’ll have a custom “bleeding map” for each material-foil combination.
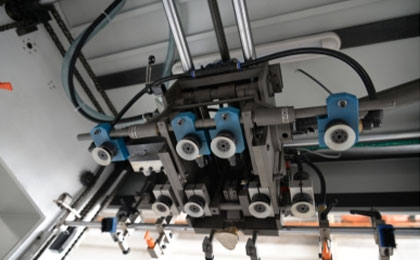
Let’s be honest: Not every shop needs a fully automatic press. If you run 200 cards a month, a manual lever machine is fine—as long as you’re willing to babysit the temperature and pressure every 20-30 stamps.
But once you cross into batch production (500+ identical pieces), the math changes. Automation doesn’t just speed things up; it eliminates the operator variability that causes intermittent bleeding.
A machine with programmable pressure curves and closed-loop temperature feedback will maintain the same stamping conditions on card #1 and card #500. That’s something even the most careful human can’t guarantee.
Several mid-range automatic models now include exactly that. You can explore specific configuration options that store material profiles—so switching between card types means loading a preset, not re-dialing everything from scratch.
Next time you see foil bleeding, don’t immediately order new foil or recut the die. Run through this list first:
Platen heat map test (use thermal paper or laser thermometer across 9 points)—more than 5°C variation? Fix heating elements.
Parallelism check (carbon paper at four corners)—uneven marks? Shim or adjust platen mounting.
Pressure stability test (run 100 stamps, measure impression depth every 20)—more than 0.05mm drift? Check springs or pneumatic seals.
Dwell/temp sweep (document the combo that works for this exact material)
Most bleeding is mechanical, not material-related. Fix the machine first, then blame the consumables.
If you’re tired of chasing bleeding on every batch, consider this: The difference between a frustrating press and a reliable one often comes down to how the machine manages heat and pressure over time.
Some brands build their presses with cast iron heater plates (less warping) and high-quality sliding bearings (better parallelism retention). Others use lighter materials that drift after an hour of running.
If you’re in the market for a new setup, pay less attention to maximum tonnage and more to thermal compensation and zone control. You can see how Aoer’s integrated system handles multi-zone temperature management—it’s the kind of detail that separates “works in the brochure” from “works on a Tuesday afternoon in July.”
Bleeding is fixable. Most of the time, you don’t need a new die or expensive foil. You just need a machine that stays flat, stays hot where it should, and doesn’t forget your settings after 20 minutes.
GET A QUOTE


 中文
中文 English
 Pусский
 Français
 Español