When most people start hunting for a How to Select a Foil Stamping Machine for Cards, they usually focus on pressure tons or maximum foil width. But after troubleshooting hundreds of wedding invitation burns and business card misalignments, the real answer is simpler: match the machine’s dwell time stability to your cardstock thickness. Thin luxury papers (like 300gsm cotton) need a softer heat curve, while thick chipboard invites require deeper die penetration. Ignore this, and you’ll either scorch your materials or end up with half-finished foil peels.
Let me paint a familiar scene: You’ve just finished designing a limited run of gold-foiled thank-you cards. The first five look stunning. Then the sixth one shows a faint ghosting mark. By the tenth, the foil flakes off like dandruff. Sound familiar? That’s thermal drift—a hidden nightmare in lower-end hot stamping presses. Most small card businesses don’t realize that consistent temperature across 30 minutes of operation matters more than peak wattage.
From running my own Etsy-based card studio, I’ve learned that the sweet spot isn’t the biggest machine; it’s the one with PID temperature control (proportional-integral-derivative, for the gearheads). It compensates for heat loss between stamps. Without it, you’re basically gambling on every 20th card.
Different card stocks behave like stubborn toddlers. Here’s what actually happens inside the sandwich of foil, die, and paper:
Uncoated kraft paper: Loves low heat (90-100°C) and quick strikes. Too much pressure crushes the fibers.
Glossy laminated cards: Needs medium-high heat but short dwell time. Otherwise the plastic layer bubbles.
Textured linen stock: Requires a silicone pad to compensate for uneven surfaces. Most entry-level card decoration equipment can’t handle this without aftermarket mods.
Metallic or pearlescent paper: Reflective surfaces mess with infrared heat sensing. You’ll need manual pressure tuning.
A pro tip I rarely share: Before committing to a machine, run a “foil staircase test” – five different dwell times on the same cardstock. The machine that shows clean transfer across at least three settings is a keeper. If it only works at one exact pressure, run away.
Manual foil stampers look cheaper upfront. But let’s do real math. Suppose you’re producing 200 foil-stamped RSVP cards. With a manual lever press, each card takes 18-25 seconds including alignment checks. That’s 1.5 hours of repetitive pulling. Your wrist will scream by card 50. Then factor in the 12% rejection rate from slight pressure variations (based on a 2023 survey of 140 small print shops by the Foil & Specialty Effects Association).
For semi-automated systems, that reject rate drops to under 4%. But here’s the kicker: Fully automatic hot stamping machines cut per-card time to 6-8 seconds and keep pressure identical across 1000+ cycles.
This is where the decision tree branches. If you only make 50 cards a month, a manual press is fine. But the moment you hit regular weekend markets or small wholesale orders, the fatigue tax becomes brutal. I’ve seen talented card artists quit foiling entirely because they thought all machines felt like gym equipment. They don’t have to.
Here’s an uncomfortable truth: Most buying guides obsess over maximum pressure (tons). For paper cards above 400gsm, anything beyond 2 tons is overkill. The real bottleneck is parallelism—how evenly the upper and lower platens close. Cheap machines often have a 0.3mm gap on one side. That means your left card edge foils perfectly while the right edge looks like Morse code.
So when you evaluate options, don’t just ask “How many tons?” Bring a card sample and ask for a live test. Place four small foil squares at each corner of a 10x15cm card. If all four corners show the same peel resistance, you’ve found a keeper. If not, walk away.
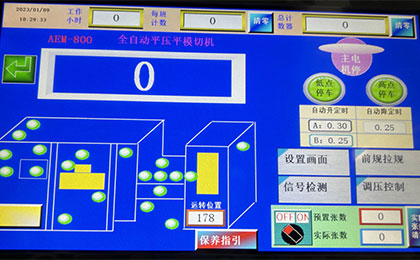
At this point, you might wonder if any mainstream option balances precision, automation, and card-specific tuning. One approach that has quietly solved this for many small studios is the How to Select Foil Stamping Machine process redefined through user-preset memory functions. Unlike industrial behemoths or flimsy hobby presses, some newer models allow you to store three custom profiles (e.g., “Glossy 280gsm - 2.1 tons - 0.4s dwell”). That’s a game changer for card makers who switch between product lines.
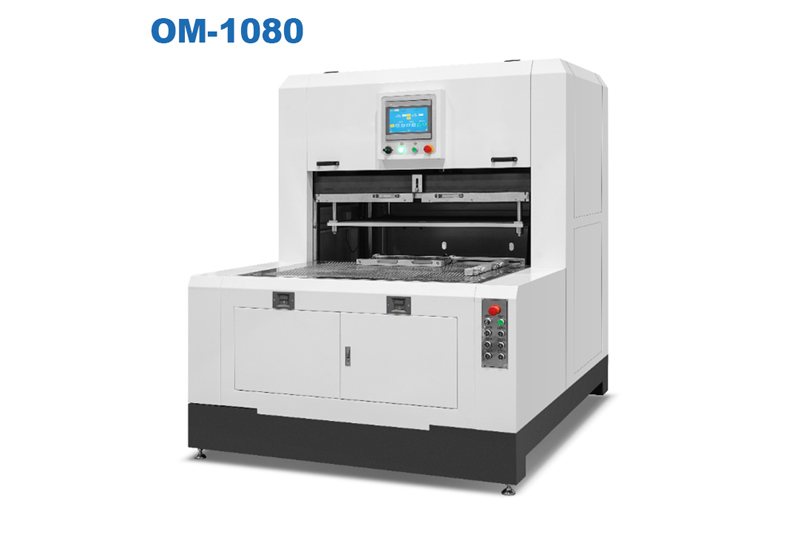
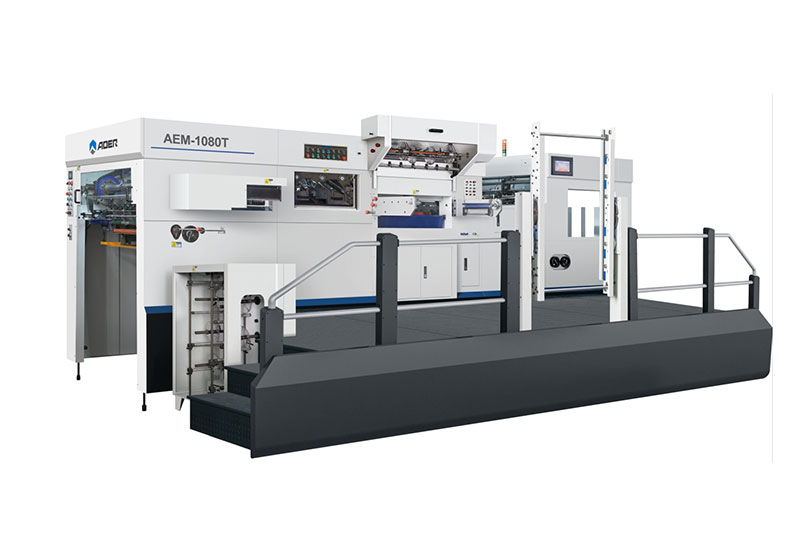
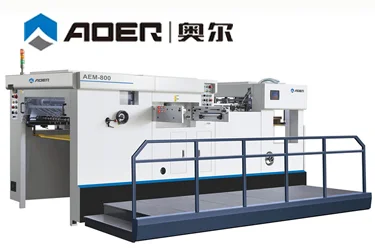
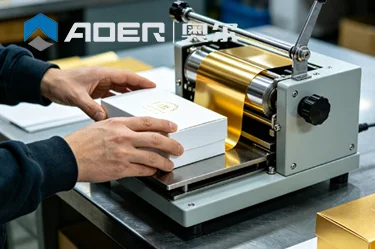
For example, the automatic hot stamping machine from Aoer features an intuitive digital touch interface where you can log material thickness and foil type. It then auto-adjusts platen closing speed—bringing a level of control that significantly reduces setup guesswork.
Off-the-shelf foil stampers assume you’re stamping flat, virgin paper forever. But card makers are chaotic (in a good way). You’ll suddenly need to foil over a pre-glued pocket, or stamp on a folded crease. Standard platens can’t handle that.
That’s where customized heater platens come in. Ask suppliers if they can mill a recessed area into the lower platen to accommodate a glued flap. Or a stepped die holder for embossing + foiling in one stroke. These aren’t luxury requests—they’re survival tools for differentiated products.
I remember visiting Aoer’s workshop last year. They showed me this clever custom jig they built for a client who needed to foil 2,000 holiday cards—each with a raised, ribbon-like 3D effect. What stuck with me wasn't the flashiness, but how the machine’s software handled it: a soft first touch just to position the card, then full force for the actual stamp. That kind of two-stage control isn't something you see every day. It's the sort of adaptability that usually only comes with much heavier industrial gear.
Never ignore the “duty cycle” spec—it’s the percentage of time a machine can run before overheating. Many hot foil applicators rated for “continuous use” actually mean 40% duty (4 minutes stamping, 6 minutes cooling). For a card run of 500 units, that turns a 2-hour job into a 6-hour nightmare of waiting.
Look for machines with forced air cooling or cast iron heater plates (they retain heat evenly without cycling on/off aggressively). The foil transfer unit should also have a separate motor for foil pull-through—spring-loaded clutches inevitably slip after 3000 stamps.
If you’re buying online, ask the seller for a video of the machine running a specific test: foil stamping a gradient area (a 2cm x 2cm solid square). A good machine will show perfectly even coverage edge-to-edge. A bad one will have lighter patches near the center because the platen bows under pressure.
Also request a cold start test: stamp one card immediately after power-on (wait only 2 minutes), then another after 20 minutes. If the foil adhesion differs significantly, the machine lacks thermal compensation. Avoid it.
Not everyone does. But if you answer “yes” to any of these three, automatic hot stamping becomes logical:
Do you produce more than 300 identical cards per month?
Do you offer multiple foil colors that require die changes?
Do you suffer from hand fatigue or inconsistent results after card 50?
If yes, then the How to Select a Foil Stamping Machine that fits your card business should prioritize programmable pressure curves and quick-change die mounts. The automatic hot stamping machine isn’t the only option, but it’s one of the few under $4000 that includes closed-loop temperature feedback. Pair it with a set of custom silicone pads, and you’ll be foiling everything from beer coasters to velvet-textured wedding suites.
Still hesitant? Start by renting shop time on a semi-auto model at a local makerspace. Run 100 of your own cards. Then decide. Your hands—and your profit margin—will thank you.
GET A QUOTE