You have set up the job, run the test sheets, and everything looked fine. Then, halfway through the production run, you start noticing it—cuts drifting off the print, creases landing in the wrong place, foil stamping that no longer aligns with the design. By the time you catch it, dozens or hundreds of sheets are already ruined.
Die cutting misalignment—or registration error—is one of the most frustrating and costly problems in post-press finishing. It wastes material, consumes operator time, and damages customer confidence. The good news is that most registration issues follow predictable patterns with identifiable root causes.
This article walks through the common failure points, explains how to diagnose each one, and provides practical fixes to restore accuracy and keep your production running.
In die cutting, registration refers to the precise alignment between the cutting die (or foil stamping die) and the printed design on the sheet. When registration is correct, every cut falls exactly where it should—borders are even, creases align with folds, and foil accents sit precisely on their intended positions.
When registration fails, the results are immediately visible:
Cutting drift: The cut line shifts relative to the printed image
Crease misalignment: Fold lines no longer match the printed fold guides
Foil registration error: Hot stamping falls outside the designated area
Inconsistent positioning: The error varies from sheet to sheet
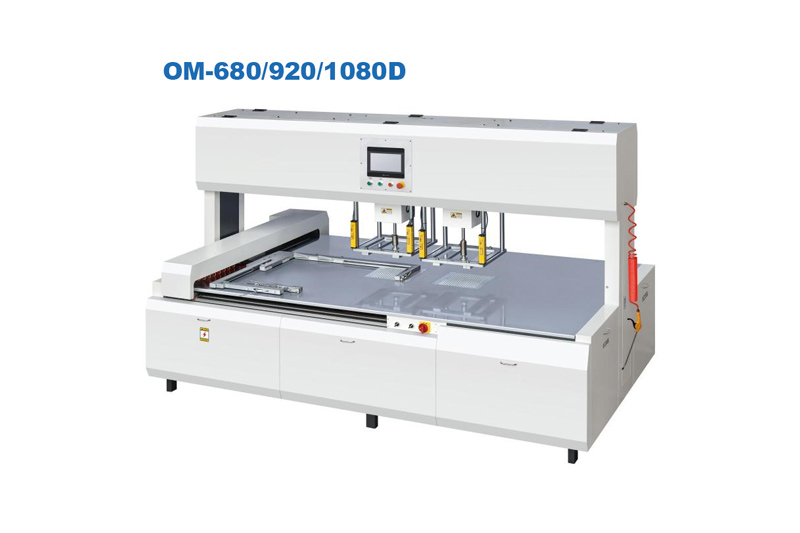
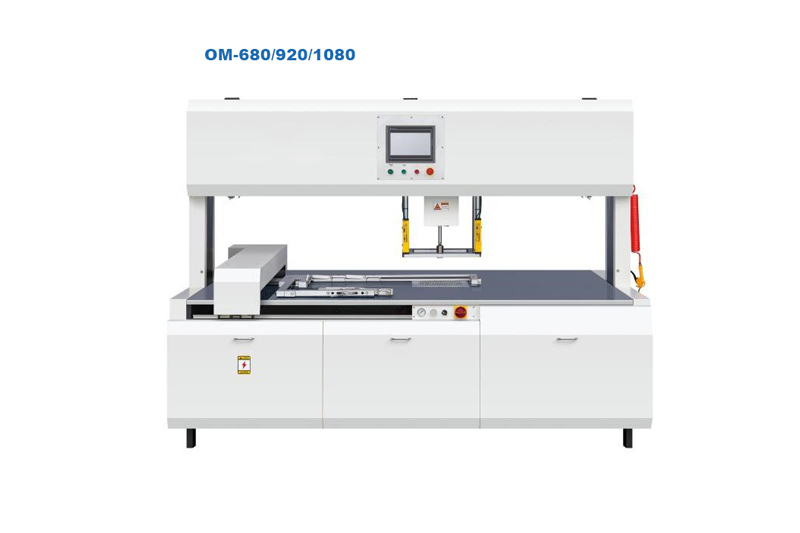
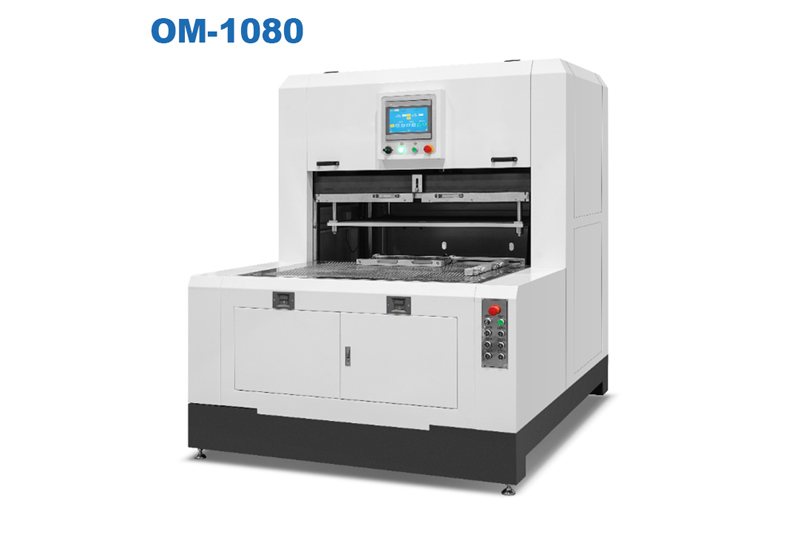
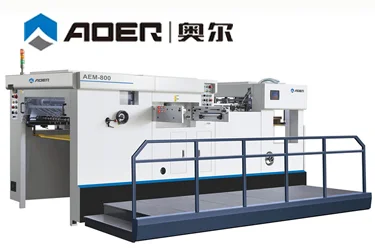
AOER’s automatic die cutting machines, for example, are engineered to achieve die-cutting accuracy of ≤±0.1mm. This level of precision ensures consistent results for items like book covers, folders, and packaging—critical for maintaining product quality in bulk production.
What this means for your production: A 0.1mm registration error might sound negligible, but on a luxury box with a gold foil border just 1mm wide, that 0.1mm drift represents 10% of the available margin. For multi-color or multi-process jobs, even small errors compound into visible defects.

Registration issues rarely have a single cause. More often, they result from a combination of factors that accumulate through the production process. Here are the five most common failure points.
The feeding system is the first line of defense against registration errors. If a sheet enters the machine skewed or mispositioned, no amount of downstream precision can correct it.
What to look for:
Sheets entering at a slight angle
Inconsistent side lay positioning
Sheets that shift during transport to the cutting station
AOER’s automatic machines address this with double-usage side lay (pull and push) and front lay that guarantee accuracy of the sheet position. Additionally, skew paper and accumulated paper detection function with auto stop function means when sensors detect paper is skewed or accumulated before being delivered to the platen press section, the machine will stop automatically.
Fix: Check that side lays are properly adjusted for the sheet size. Clean any debris from the feed table. Verify that suction nozzles are providing consistent grip—AOER machines use precision feeder heads with adjustable angle and height of nozzles to suit different shapes of paper.
In automatic flatbed die cutting machines, gripper bars (or chains) carry the sheet from the feeder through the cutting and stripping stations. If grippers are worn, misaligned, or losing tension, the sheet can shift during transport.
What to look for:
Registration error that increases toward the back of the sheet
Marks or scratches on the sheet from gripper contact
Inconsistent feed length from cycle to cycle
Fix: Inspect gripper pads for wear and replace if necessary. Verify gripper closure pressure—too light and sheets slip; too heavy and they deform the sheet edge. Check that all grippers are opening and closing in unison.
For manual machines, the operator positions the die directly on the cutting platform. If the die is not aligned with the platform’s registration marks, every sheet will be cut off-register.
What to look for:
Consistent, repeatable error from sheet to sheet (the die is simply in the wrong place)
Error that persists across multiple sheets and multiple operators
AOER’s manual die cutting machines provide grids, rulers, or alignment guides to position the die correctly. For complex layouts, testing with scrap material helps ensure the die is centered and straight.
Fix: Use the machine’s registration marks and alignment guides. After positioning the die, run a test cut on scrap material and measure the offset. Adjust the die position accordingly and test again before running production sheets.
Die cutting pressure must be uniform across the entire sheet surface. If pressure is higher on one side or in one corner, the sheet can shift during the cutting stroke—or the cut itself can be distorted.
What to look for:
Clean cuts on one side of the sheet, incomplete cuts on the other
Registration error that varies across the sheet surface
Visible crushing or marking in high-pressure areas
AOER’s automatic machines feature mainframe and base made of high strength spheroidal graphite iron QT500-7, accurately processed by numerical control center to guarantee stable operation when bearing large pressure. The cores, such as crankshaft and worm gear, are made of high-class alloy steel imported from abroad, processed by quenching and high-temperature tempering.
Fix: Check that the backing plate is flat and free of debris. Verify that the die is properly mounted and that the chase is level. If pressure imbalance persists, check for worn bearings or misaligned platen guides.
Paper and board are not perfectly stable materials. Humidity, temperature, and even the direction of the paper grain can cause dimensional changes that affect registration.
What to look for:
Registration error that varies with time of day or weather conditions
An error that is more pronounced on one type of stock than another
Sheets that curl or warp after passing through the machine
Fix: Store materials in a climate-controlled environment. Allow materials to acclimate to the production environment before cutting. For critical jobs, consider running registration marks on the printed sheet that can be used for optical alignment.
When registration problems appear mid-run, follow this systematic diagnostic process to identify and fix the issue with minimal waste.
Immediately stop the machine. Continuing to run misregistered sheets only increases waste. Set aside the last 10–20 sheets produced and label them by sequence.
Using a precision ruler or caliper, measure the registration error on several consecutive sheets:
Is the error consistent (same offset on every sheet)?
Is the error trending (getting worse or better over time)?
Is the error variable (different from sheet to sheet)?
| Error Pattern | Most Likely Cause | Next Step |
| Consistent error | Die positioning or setup issue | Recheck the alignment and registration marks |
| Trending error | Mechanical wear or loosening | Check grippers, belts, and fasteners |
| Variable error | Feeding or material issue | Check feeder settings and material condition |
Place a fresh sheet on the machine and mark registration reference points. Run it through without cutting (if possible) or with a light cut, and measure the result. This isolates whether the issue is setup-related or developing during the run.
| System | What to Check | How to Check |
| Feeder | Sheet position, skew, double-feeds | Observe sheet entry; check side lay and front lay settings |
| Transport | Gripper condition, belt tension | Inspect gripper pads; verify consistent feed length |
| Die mounting | Die position, chase security | Verify the die against registration marks; check clamps |
| Pressure | Uniformity, backing plate condition | Check for uneven cutting; inspect backing plate |
Once you identify the cause, make the adjustment and run another test sheet. Document the change and the result. This builds a reference library for future troubleshooting.
What this means for your shop: A systematic approach to troubleshooting registration issues reduces wasted sheets and minimizes downtime. Shops that document their setup parameters and error patterns typically resolve registration problems in half the time of shops that rely on trial and error.
Modern die cutting machines incorporate several technologies specifically designed to maintain registration accuracy.
Advanced optical positioning systems ensure foil stamping and die-cutting accuracy within ±0.10mm for premium quality. These systems use cameras or sensors to detect registration marks on the printed sheet and adjust the sheet position before cutting.
AOER’s automatic machines use a PLC centralized control system, which can automatically examine the working status and test unusual status as well as record the working condition. This real-time monitoring allows the machine to detect and respond to registration issues before they become visible defects.
When sensors detect that paper is skewed or accumulated before being delivered to the platen press section, the machine will stop automatically. This prevents misregistered sheets from reaching the cutting station, reducing waste and protecting the die.
The feeder is the foundation of registration accuracy. AOER’s machines feature conveyor tables with anti-wear PU press rollers and brush wheels that guarantee high feeding accuracy. The conveyor belt can be adjusted nonstop without stopping production.
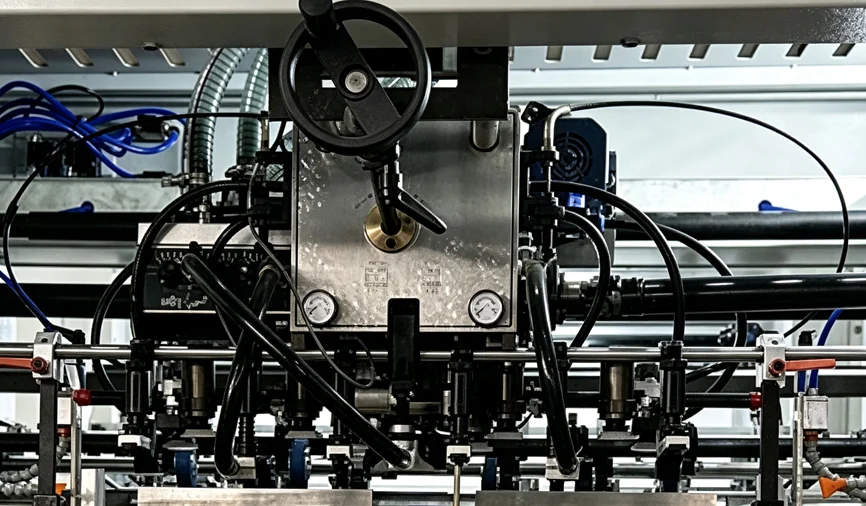
A mid-size packaging printer is running 15,000 sheets of a luxury cosmetic box. The job has been running for two hours with no issues. Suddenly, the operator notices that the foil stamping is drifting approximately 0.3mm to the left relative to the printed design.
Stop and isolate → The operator stops the machine and sets aside the last 10 sheets.
Measure the error → The error is consistent on all 10 sheets, not trending or variable.
Check the setup → The die and foil station were correctly positioned at startup. The error is new.
Inspect the feeder → The side lay adjustment screw has worked loose from vibration, allowing sheets to feed approximately 0.3mm left of the original position.
Tighten the side lay adjustment screw and apply thread-locking compound. Run 5 test sheets—registration returns to normal. Resume production. Total lost sheets: 10 (already produced) + 5 (test) = 15 sheets. Total downtime: approximately 8 minutes.
The root cause was vibration loosening a critical adjustment. Regular inspection of fasteners and adjustment points—particularly on high-vibration machines—prevents this type of mid-run failure. AOER’s machines use selected European, Japanese, and Taiwanese electrical and pneumatic components to improve stability and reduce the frequency of such issues.
For production environments where registration accuracy is critical for premium quality, reviewing the complete workflow helps identify potential failure points beyond the machine itself: examine finishing workflow approaches for quality-critical applications.
The best way to fix registration issues is to prevent them from occurring in the first place. A regular preventive maintenance program focused on registration-critical components pays for itself in reduced waste and downtime.
Clean the feed table and remove debris
Inspect side lays and front lays for wear or looseness
Check that registration marks on the machine are clean and visible
Inspect gripper pads and replace if worn
Verify belt tension and condition
Check that all fasteners on the feeder and transport systems are tight
Inspect the backing plate for flatness; resurface if necessary
Check platen parallelism
Calibrate sensors and optical positioning systems
External reference: According to ISO 12643-5:2010, which provides safety requirements for stand-alone platen press systems intended for diecutting, creasing, embossing, and foil stamping, regular inspection and maintenance of safety-critical systems—including those that affect registration—is essential for both safety and quality. A well-maintained machine that meets these standards has undergone design review for critical systems, reducing the risk of both catastrophic failures and gradual accuracy degradation.
External reference: The TAPPI (Technical Association of the Pulp and Paper Industry) publication “Managing a Successful Rotary Die Cut Operation” emphasizes that “running and managing the die cutting process requires proper understanding of accurate registration, which means proper time and register calibration”. This principle applies equally to flatbed die cutting: registration accuracy is not a one-time setup—it requires ongoing calibration and attention.
For shops that need to verify registration accuracy capabilities against their specific quality requirements, understanding how different machine series achieve precision helps when comparing options: review registration accuracy specifications across die cutting machine categories.
You now have a systematic framework for diagnosing and fixing die cutting registration issues. The key takeaways:
Registration errors follow patterns—consistent, trending, or variable—that point to specific root causes
The feeder is the first line of defense—if sheets enter skewed, no downstream system can correct it
Regular preventive maintenance on registration-critical components prevents mid-run failures
Modern technology—optical positioning, PLC control, and auto-stop functions—provides real-time protection against registration drift
The most common mistake is treating registration as a single problem with a single solution. In reality, registration accuracy depends on the entire material path—from the feeder through the cutting station. A machine that maintains ±0.1mm accuracy on one material may struggle on another if the feeder, grippers, or pressure system are not adjusted accordingly.
Once you have identified your typical quality requirements and material mix, comparing specific machine configurations becomes the logical next step. Different machine series offer different registration-enabling technologies—from precision feeders and optical positioning systems to heavy-duty frames that maintain accuracy under high pressure. The right choice depends on your specific quality standards and production volume.

GET A QUOTE


 中文
中文 English
 Pусский
 Français
 Español